Sunday, June 28, 2015

Gesso and Frescoes


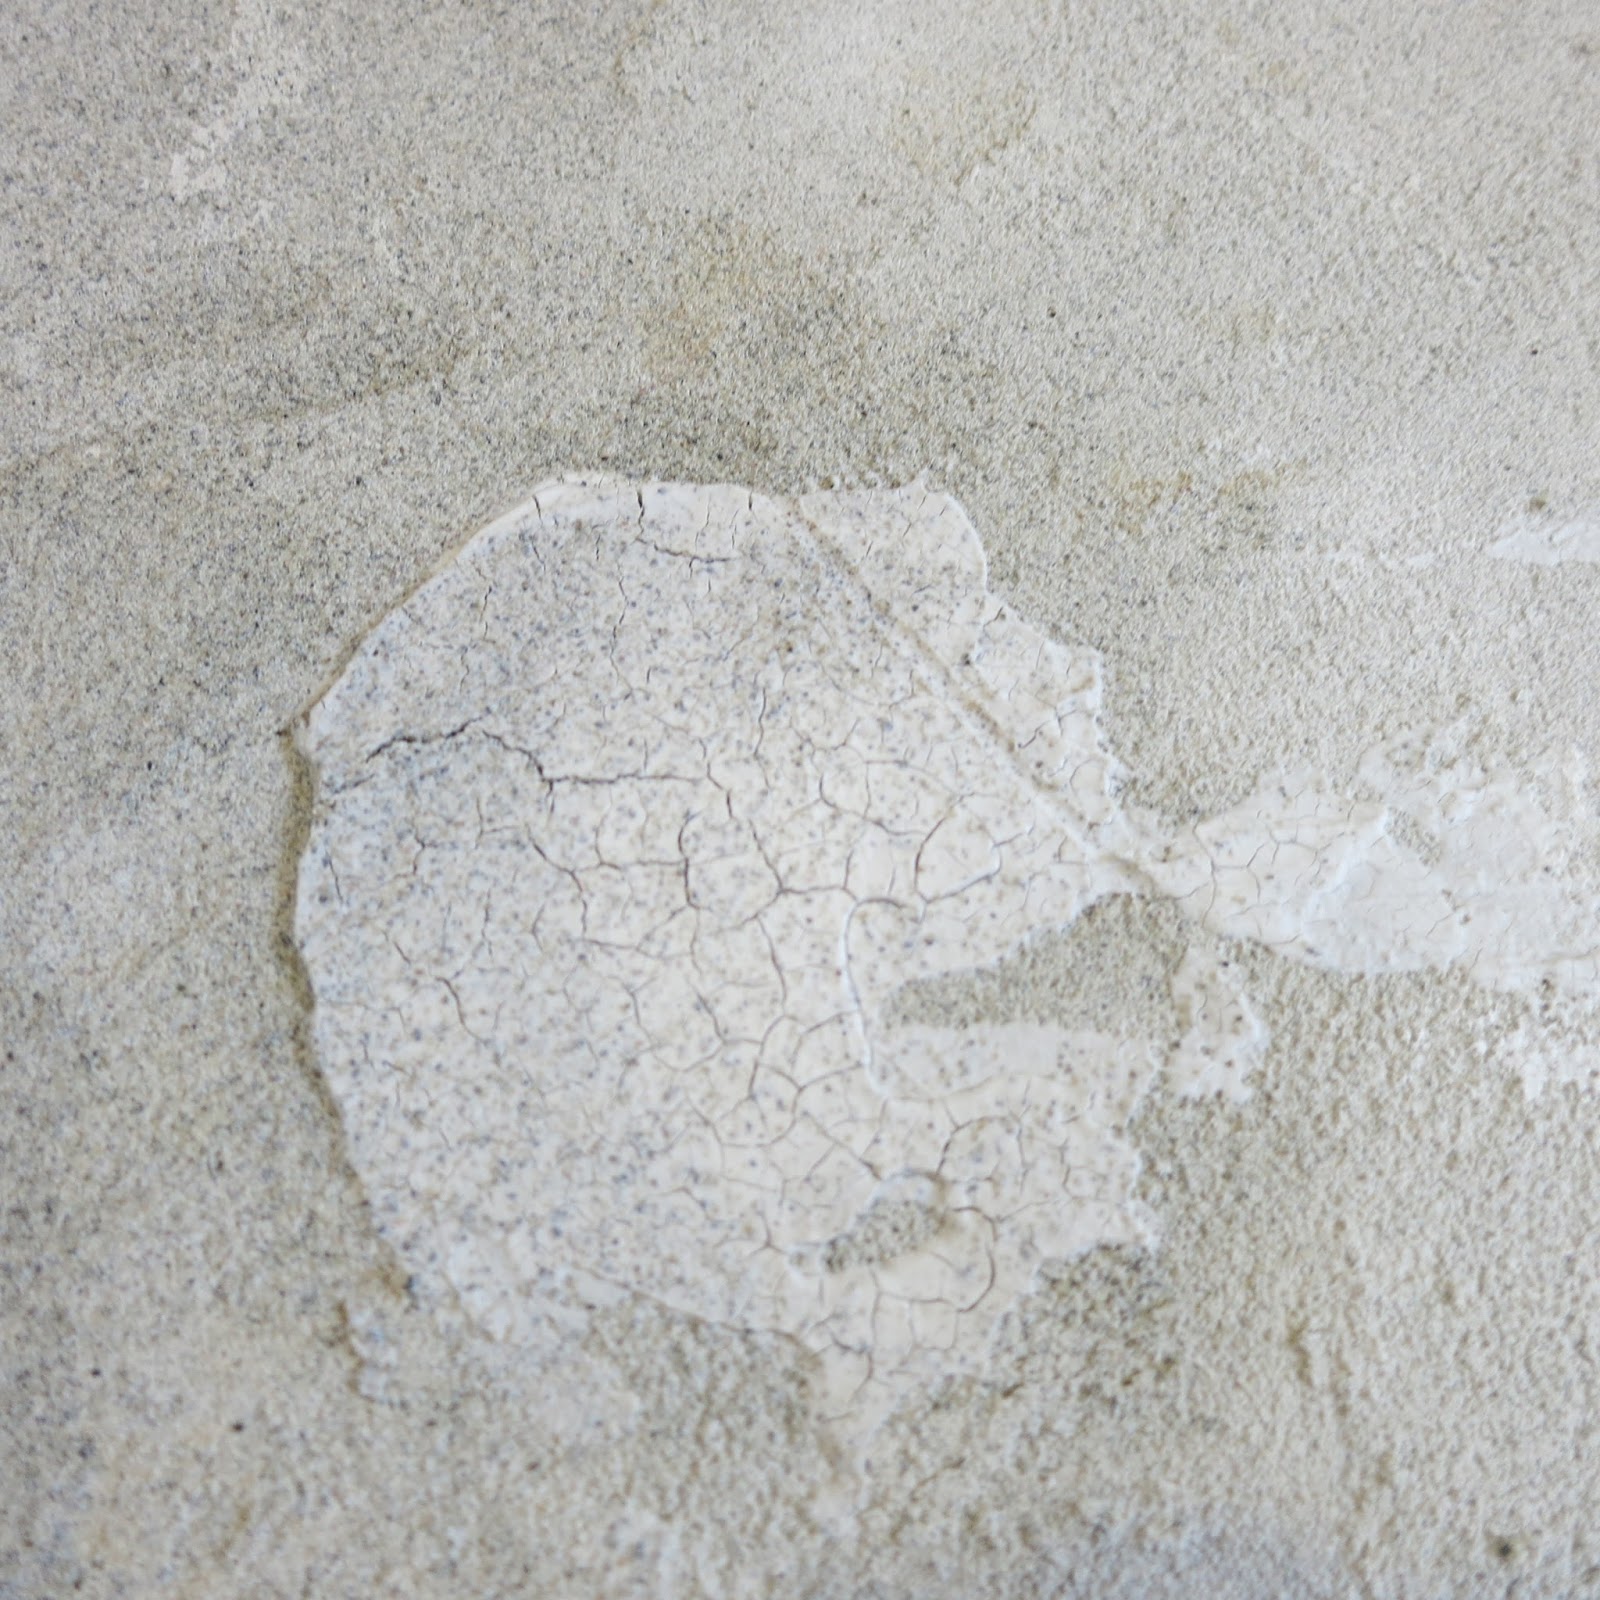
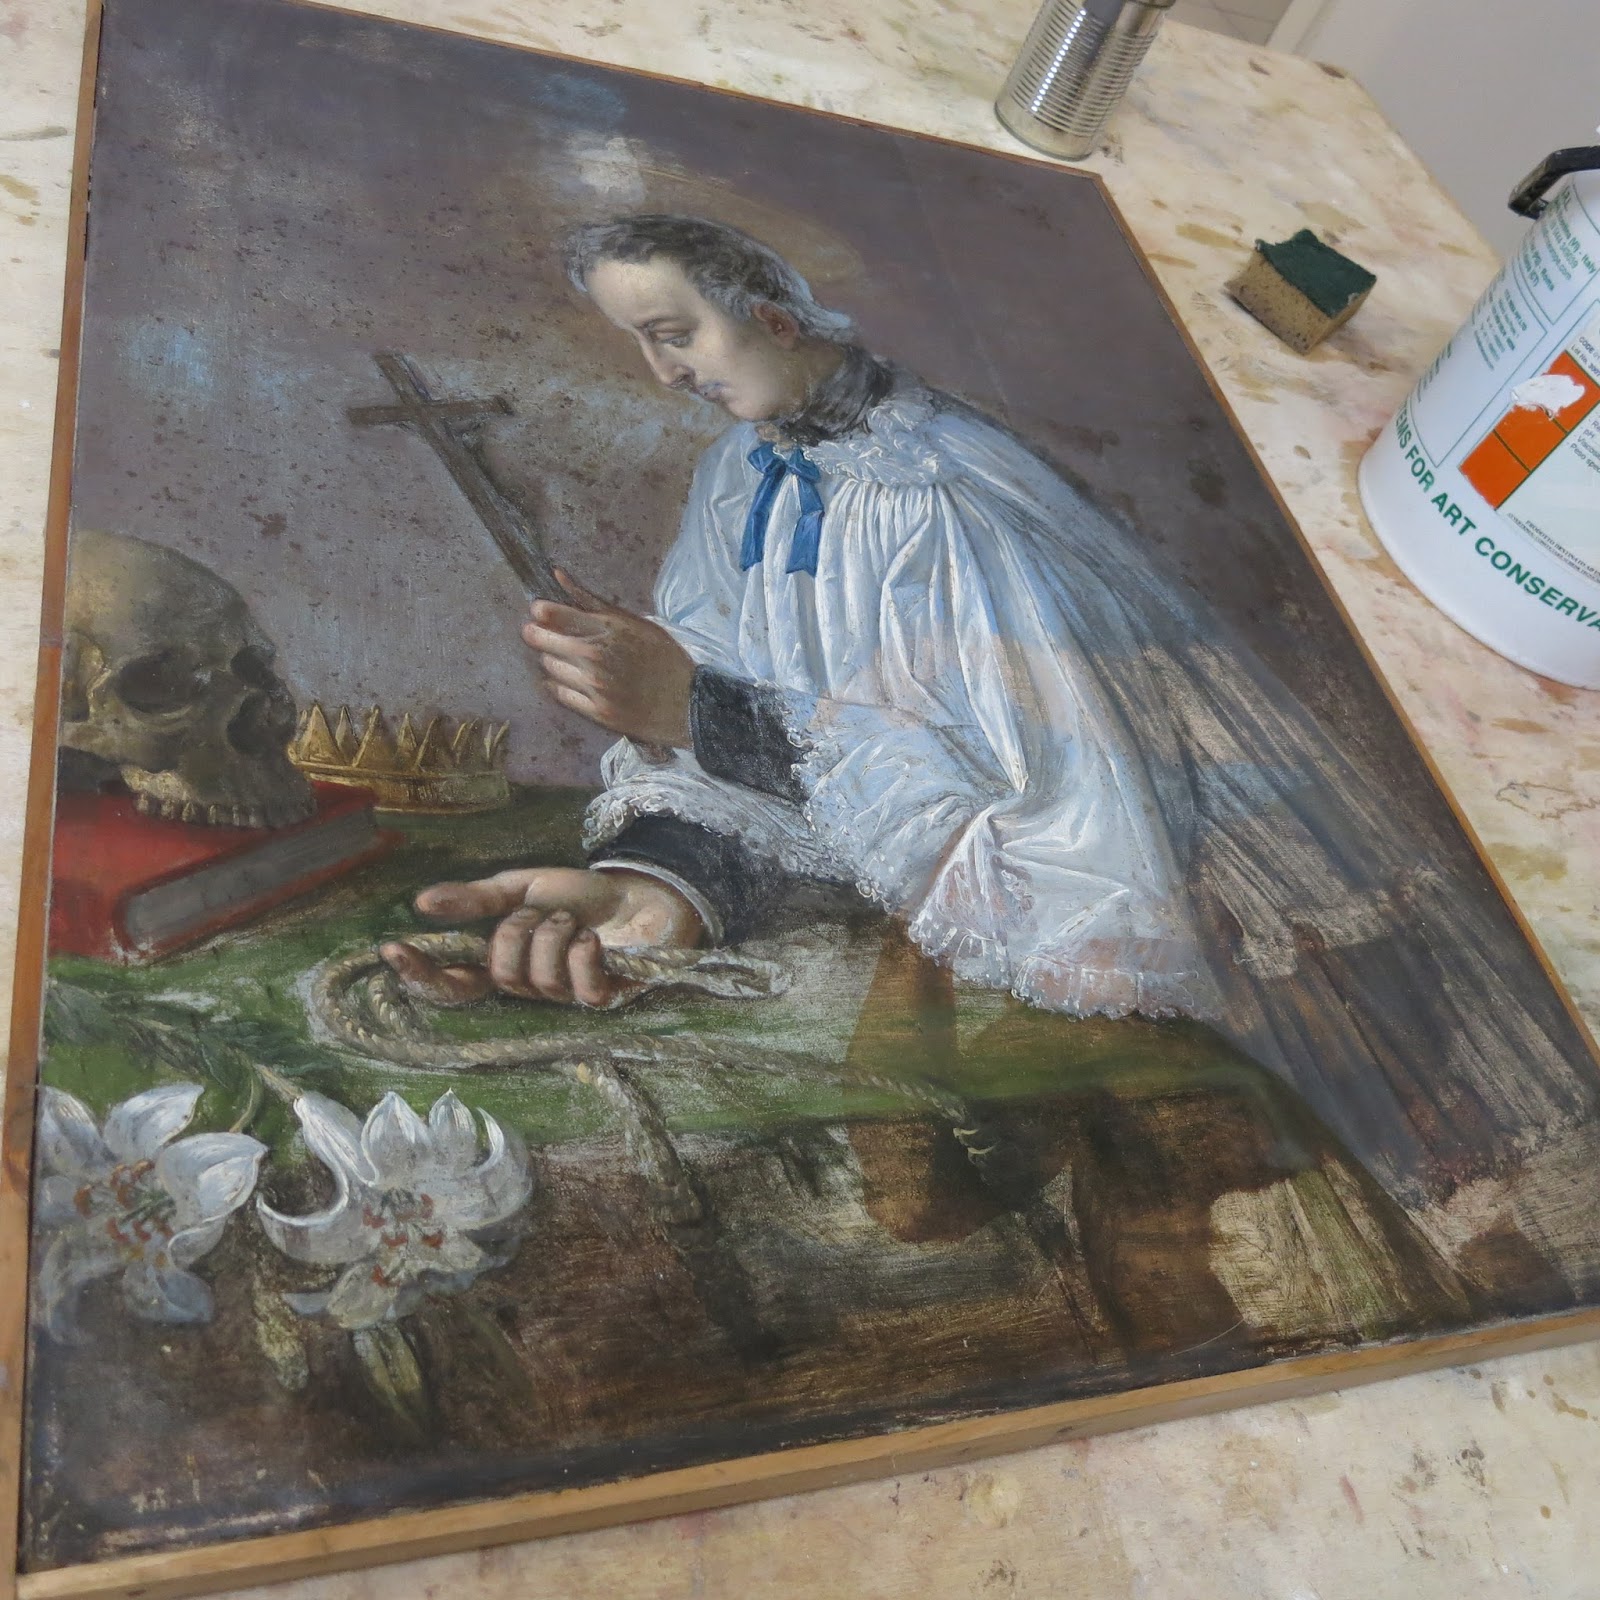
Once we got back from Calabria (which was Amazing!) We learned how to mix a gesso and apply it to a big painting that had been worked on by several restoration classes called Santa Caterina. I don't completely remember everything in this lesson and unfortunately my notes weren't very thorough for this section, so my explanation might be a little unclear.

As I understood it, the gesso is made of either rabbit bone or fish bone. It's mixed as 1:10 ratio. Since we were using organic material, using too much bone can make the paste moldy so it's important to get the right ratio.  We made a 1 part organic bone mixture with 10 parts cold water in a small can, which then went into a bigger can to boil and melt the bone into a sticky glue.  We then sifted a powdered material (maybe made of chalk and talcum, a kind of powdered gesso) into the rabbit glue.  The mixture has to be the perfect viscosity. Not too fluid and not too thick, somewhere in-between where it drips at a steady rate as a bead. We then applied this to the painting where the painting had corroded. When applying we had to make sure it didn't touch the existing oil paint or it could warp the painting that was already there. After the gesso dried we scraped it down so it would be even with the original painting and applied watercolor to match the original colors.


If you notice the bottom two pictures, there is gesso filled in to the left of the face and on the forehead in the left picture. In the right picture, I'm slowly building up the color with watercolor to get a similar color tone to the surrounding area. 

We also started painting a fresco in preparation for peeling it off the plaster and transferring it to canvas. This is one of the methods that can be used to preserve frescoes. The plaster was made with sand and non-acidic lime. The sand has to be from a lake or river because sea salt destroys the color of a painting. The lime is also boiled in water until in becomes alkaline (meaning not acidic). They use lime because it pushes the color of pigment forward and creates a transparency. The best ratio for plaster is 1 parts lime: 2 parts sand. If there is too much lime the plaster will crack easily. If there is much sand it becomes too porous. 


We then painted on the dried plaster with colored pigments mixed with water. This would probably be called fresco-secco as the paint was applied to dry plaster. A lot of old master works were painted buon fresco, which means the paint was applied to wet plaster. The artist would plaster and paint in sections daily, or a days work called giornata. But before the painting could be done, a sketch is first outlined on the plaster, usually with a red pigment called sinopia. 

We outlined our sketch by using a piece of paper with holes pricked in it. A bag of pigment, spolvero, was pounded over the paper, producing pigment on the plaster where the holes had been. I decided to paint a copy of Michelangelo's Sibyl from the Sistine Chapel. I wish I had a little more time to finish  my painting but the since of urgency and time constraint definitely opened my eyes to how hard it would be to complete a wall fresco.


Saturday, June 27, 2015

Restoration in Calabria

The second week of class we went to Calabria. We visited several orchards, drank limoncello and ate a lot! The food was delicious! We mainly stayed in the small town of Rocca Imperiale where we cleaned and restored some 18th century furniture and an alter in a church.

 There were four pieces of furniture. One big chest for daily cloths like sheets, one medium chest which would have been used for a woman's fancy or important occasion clothes, one small chest for a baby's belongings, and a small table probably used for writing. They were all found in the basement of an 15th century castle. (I will describe the castle in more detail in another blog post.)

All the furniture was covered in dust inches thick. So we took most of the first day washing off the dust with water and brushes. After the cleaning was finished we took off some of the varnish with cotton soaked with ammonia, vinegar and water mixture. The small table had also been painted with a tacky blue color that hadn't been part of the table when it was originally made, so we scraped of the blue paint. After cleaning and removing the varnish we coated in a preserving and natural finish that made the furniture really shine.


While in Calabria, Lorenzo showed us past restoration projects. We visited many churches and sites in which he had previously worked. This was a polychrome sculpture. Much like a painting on wood, a polychrome can have many issues. They often need a lot of surface cleaning and consolidation of paint. Some polychromes can have issues of bugs eating the wood, so losses are usually filled.  There also can be a problem of combating past restorations of polychromes. They were sometimes repainted incorrectly or stripped of it's paint to reveal bare wood.


At the church in Nocara, which was a town high up in the mountains, we mainly just painted the wall and steps around the alter of St. Roch with a tan color and sponged over that to give it a type of texture. But my favorite part was applying gold leaf to metal that had been oxidized or a patina that had formed on the metal. It was a very delicate procedure. You first applied a type of natural glue and then you pressed the thin gold leaf on to it gently. You could't be too finicky with it because once it was on there it was stuck.


Saturday, June 20, 2015

The Start of an Italian Restoration Workshop

So the main reason I wanted to study abroad, besides seeing Italy, was the Florence and Southern Italy Restoration Workshop. I became interested in conservation and restoration of art when I shadowed a conservator at my local museum, The Nelson-Atkins Museum of Art. This class has been really interesting and I think it will be really beneficial to have this experience.

The intructor, Lorenzo Casamenti was very intelligent and he has worked on restoring famous pieces all over Florence and Italy. I was very grateful to be learning from him and his assistant, Lisa. I don't know all of the technical terms for restoration, but I hope to explain what I've been doing in the class the past few weeks. The first week we cleaned several 16th and 17th century paintings.  Churches used to be lit up with many candles, so paintings were often covered with a layer of wax and soot from the candles. A famous example of this would probably be Michelangelo's frescoes in the Sistine Chapel. In other cases, varnish has aged and discolored over time altering the colors in the painting. Lorenzo first showed us how to remove the varnish with a mixture of turpentine and acetone using cotton swabs. It was important to remove the varnish with the flow of the painting, not in blocky swipes. After the varnish was removed we cleaned the painting under the varnish with a soap cream. As I've always been taught never to touch a painting or famous artwork, this was kind of nerve-racking as it seemed crazy to be washing a painting with soap.


While cleaning one painting we discovered there was an original painting under the church painting which was a fun surprise. We stopped working on it because Lorenzo said he'd have to ask the owner if they wanted the original restored or to keep the painting on top. After we discovered the under painting, he showed us an "x-ray" of a military portrait that had a religious motif of Mary and Jesus underneath. As a painter, I've painted over some of my earlier works but I guess I never would have thought old, famous paintings like the Mona Lisa would have had something underneath.

If you look closely you can see a figure in the bottom right corner

We also learned how to identify the approximate age of a painting by looking at the canvas. A canvas that is beige or darker in color and has an open weave, is typically older. The tighter the weave of the canvas, the newer the painting.